
Image from Unsplash
Are you looking for a way to give your fridge a new look? Installing fridge wraps is a great option to instantly transform the look of your refrigerator. In this guide, we’ll walk you through the process of installing fridge wraps step-by-step. We’ll also share some tips and tricks for getting professional results. So let’s get started!
Introduction to Fridge Wraps
Fridge wraps are a great way to give your fridge a new look without having to buy a new one. They are made from vinyl material, and they are applied directly to the appliance. The wraps come in a variety of styles and designs, so you can customize your fridge to match your home’s decor. They are also very easy to install, and you can do it yourself without the help of a professional.
Tools and Materials Needed
Before you begin the installation process, you’ll need to gather the proper tools and materials. Here is a list of what you’ll need:
- Fridge wrap
- Tape measure
- Sharp utility knife
- Squeegee
- Isopropyl alcohol
- Clean cloth
Step-by-Step Instructions
Now that you have all the necessary tools and materials, it’s time to begin the installation process. Here’s a step-by-step guide to help you get started:
- Start by measuring the fridge. Make sure to measure both the width and the height of the appliance.
- Next, you’ll need to measure and cut the wrap to the correct size. Make sure to leave a few extra inches of material at the edges.
- Once the wrap is cut to the correct size, it’s time to align and apply it to the fridge. Start at the top and work your way down.
- Use a squeegee to smooth out any air bubbles as you apply the wrap.
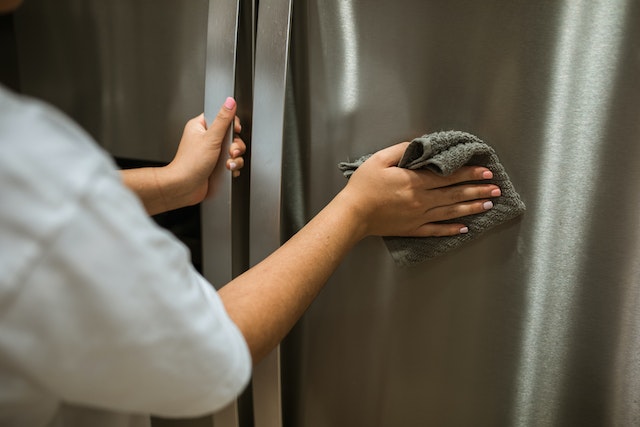
- Once the wrap is completely applied, use a cloth and isopropyl alcohol to clean the surface.
Choosing a Design
The first step in the installation process is choosing a wrap design. There are a variety of designs available, so take some time to browse and find the one that best matches your style. You can also find wraps that feature fun patterns or designs to add a unique touch to your fridge.
Measuring and Cutting the Wrap
Once you’ve chosen the wrap design, it’s time to measure and cut it to the correct size. To ensure the wrap fits properly, it’s important to measure the fridge twice. Make sure to leave a few extra inches of material at the edges.
Once you have the correct measurements, use a sharp utility knife to cut the wrap. Be sure to cut slowly and carefully to avoid any mistakes.
Aligning and Applying the Wrap
Now that the wrap is cut to the correct size, it’s time to apply it to the fridge. Start by removing the back panel from the fridge and placing it on a flat surface. Then, align the wrap with the panel and slowly start to apply it. Use a squeegee to smooth out any air bubbles as you go.
Once the wrap is completely applied, use a cloth and isopropyl alcohol to clean the surface. This will help ensure a professional finish.
Finishing Touches
Once the wrap is applied, it’s time to add some finishing touches. Start by trimming the edges of the wrap with a sharp utility knife. This will ensure a crisp, clean look.
You can also add some decorative trim to the edges of the wrap. This can be done with washi tape or any other type of decorative trim.
Tips for Professional Results
Installing fridge wraps isn’t difficult, but there are some tips and tricks that can help you achieve professional results. Here are some of our top tips:
- Take your time and measure twice. This will ensure the wrap is cut to the correct size.
- Use a squeegee to smooth out any air bubbles as you apply the wrap.
- Clean the surface with isopropyl alcohol to ensure a professional finish.
- Trim the edges of the wrap with a sharp utility knife.
- Add some decorative trim to the edges of the wrap for a unique touch.
Following these tips will help you achieve professional results when installing your fridge wraps.
Troubleshooting Common Problems
Installing fridge wraps isn’t difficult, but there are some common problems that can arise. Here are some of the most common issues and how to fix them:
- Fridge wrap is too small: If the wrap is too small, simply measure and cut a larger piece of wrap.
- Air bubbles: Use a squeegee to smooth out any air bubbles as you apply the wrap.
- The wrap is wrinkled: Use a heat gun to remove any wrinkles from the wrap.
Following these tips will help you troubleshoot any common problems that arise when installing fridge wraps.
Conclusion
Installing fridge wraps is a great way to give your fridge a new look without having to buy a new one. In this guide, we’ve walked you through the process of installing fridge wraps step-by-step. We’ve also shared some tips and tricks for getting professional results. So what are you waiting for? Get started on your fridge wrap project today!