
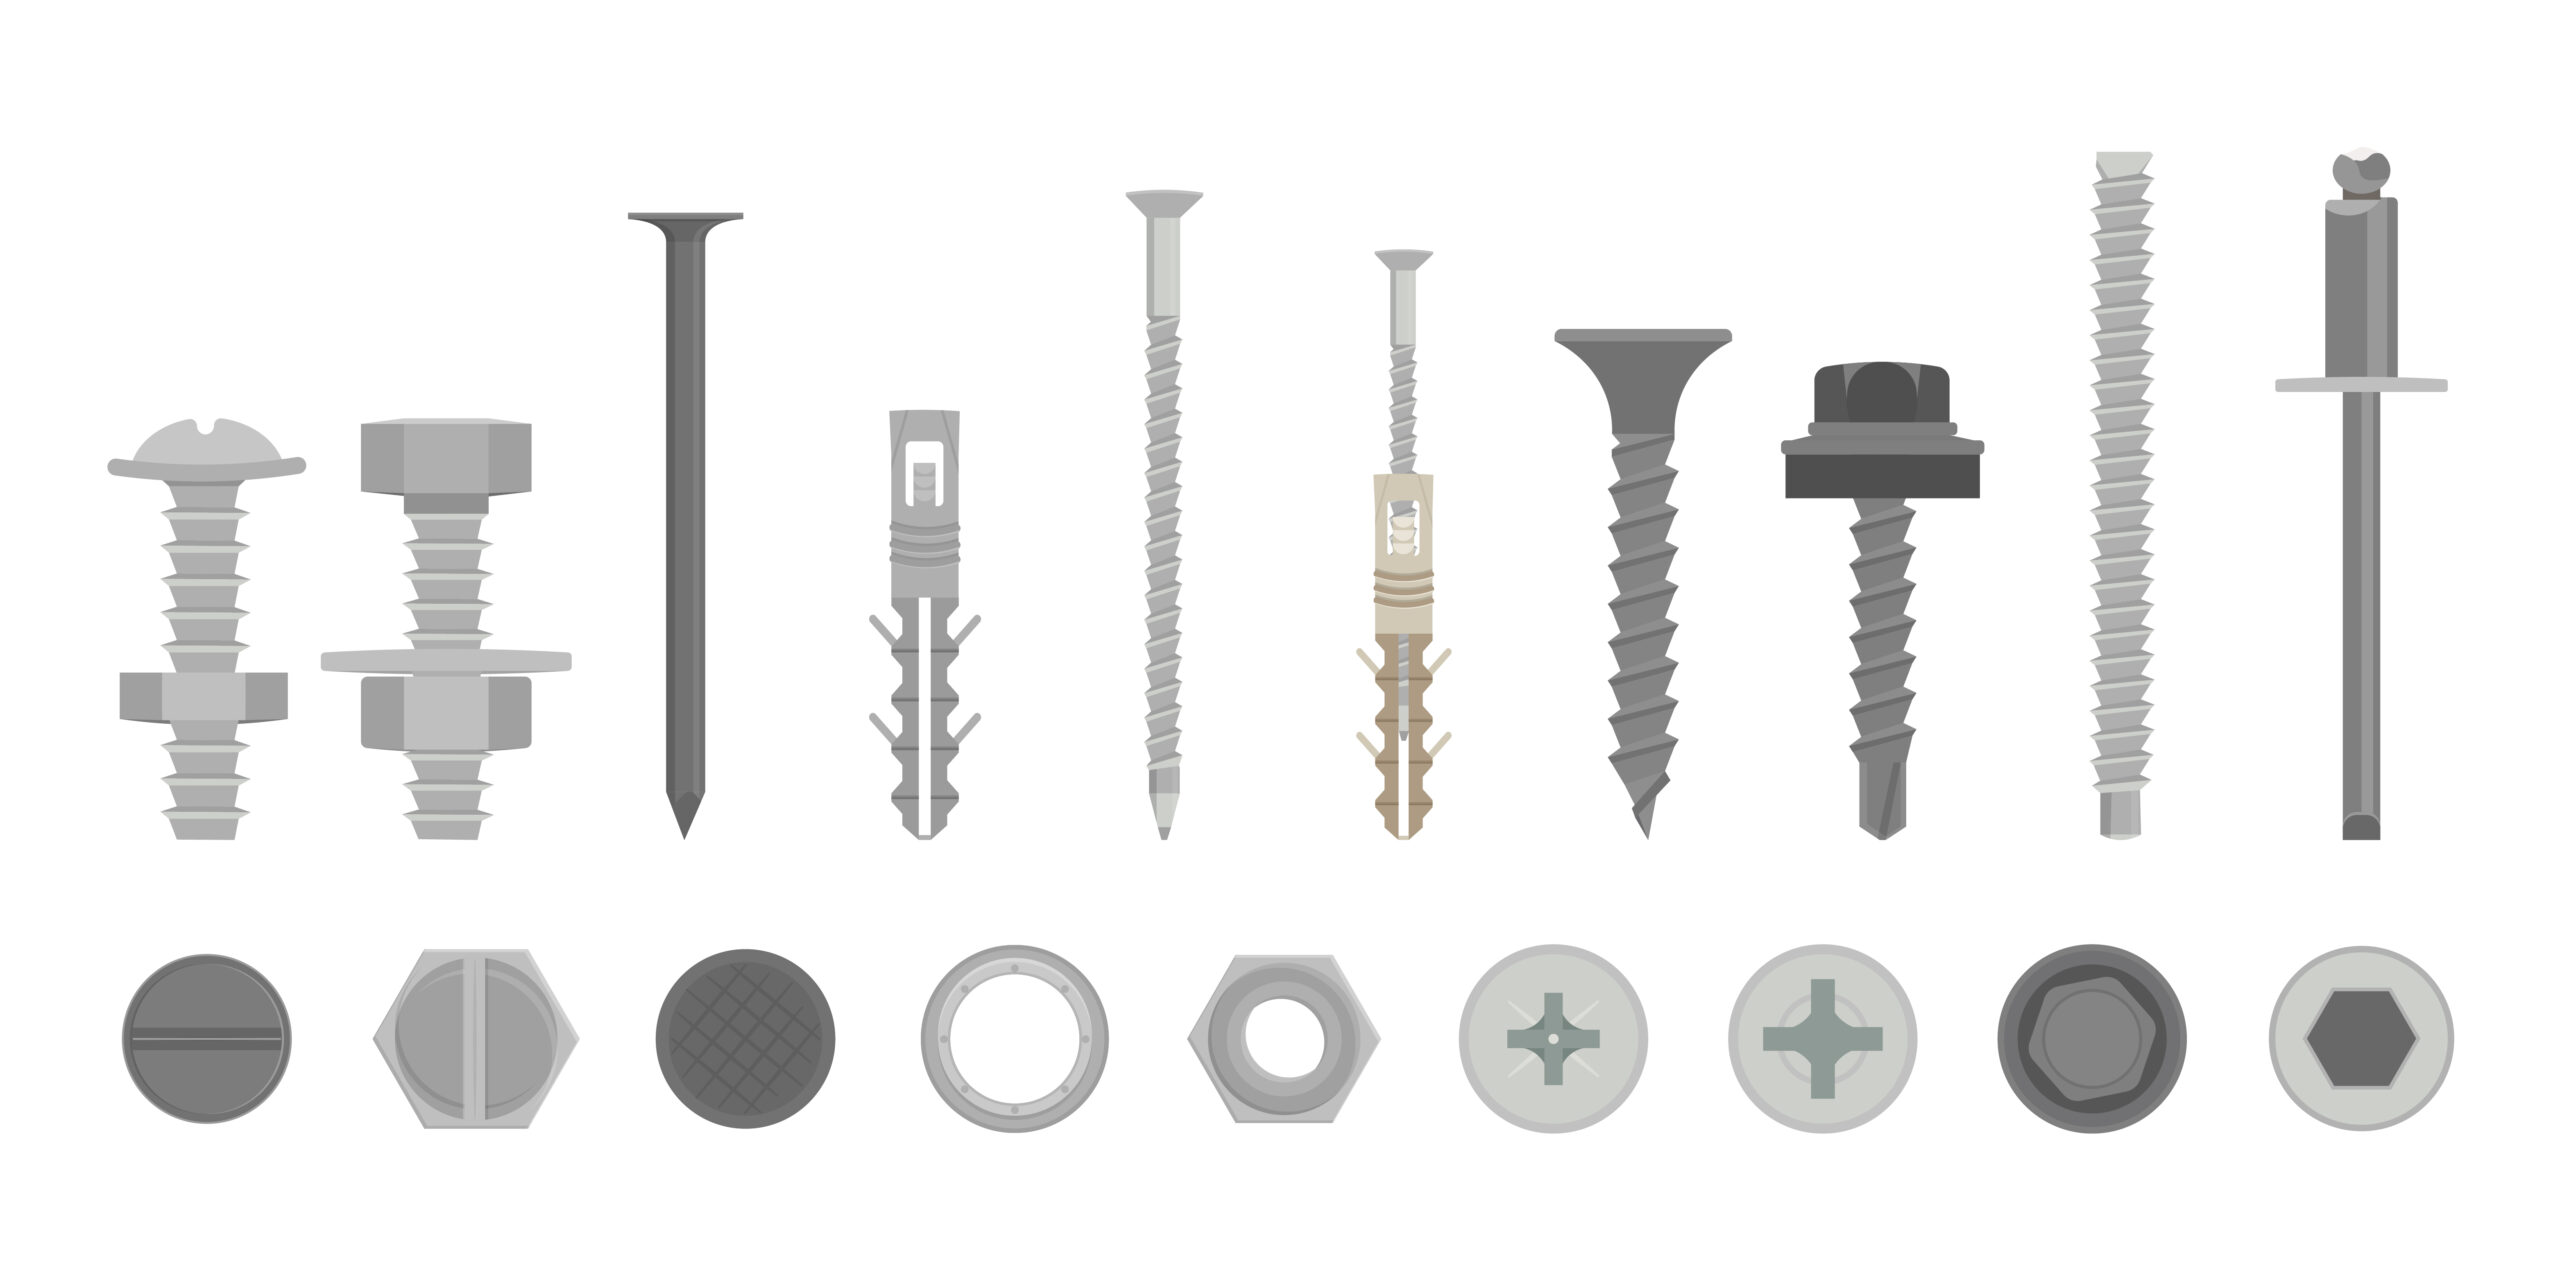
There are many types of masonry fixings. Concrete bolts are an excellent choice for heavy-duty applications. These are specially designed with a deep thread from head to tip for superior pull-out resistance.
Masonry fixings can be used in small edges without damaging the surface. They are suitable for all types of projects and are quick to install. Their dust-resistant threads make them perfect for any installation. And because of their high strength and durability, they can be reused if required.
Step 1: Selection Of Size Of The Bed Size
It is crucial that you know what size mattress you have or, if you’re planning to purchase a bigger size, for instance, upgrading from a queen size to a King, ensure that your bedroom is able to accommodate the mattress.
Step 2: Choice Of Wood
It is important to consider this with a lot of care as this is what will support the weight of the mattress completely. If you are choosing the wood pieces, you have to pick ones which are straight and not curved, as this could cause you to sleep uncomfortable. It is essential to purchase wood that is one inch thick.
Step 3: Making The Headboard
It will be the 68″headboard. Once you have the lumber in place, you can build the headboard in any shape you like, maybe an elegant one or create a rectangular headboard. When the headboard is set, you will need to attach it to its right and left sides with the high-density peg.
Step 4: The Side Railings
The next step is to cut some planks of panel pins that measure 80″ 18″ and set them horizontally in front of the headboard. Once they’re ready, you will need to apply the sandpaper to smooth it out. Then, join them to the high density pegs on the headboard.
Step 5: The Final Board
This is the place where you have to be very careful as it must be in perfect alignment with the headboard you constructed, or else the bed frame will appear uneven.
Step 6: The Surface Of The Bed
It is here that you can utilise the medium density 15 hardwood pegs. You must be very vigilant because this is the place where the weight of everyone who sleeps on the bed is likely to fall, and your accuracy must be flawless.
The 15 pegs are placed in the railings of the sides. Then, at the end of each peg you must make holes in the railing on the side. Utilise the screws to connect the railings and pegs together. To ensure the highest level of safety and long-lasting use, you can drive in a few nails well.
Step 7: Final Finishes
Examine any imperfections on the wood you’ve made use of and smooth them away by using the sandpaper. Now you must apply the solution to the wood and varnish to ensure that the bed will not be affected by any change in temperature.
Now you have your entire wooden bed frame. You are able to be proud of what you accomplished since it’s your creative flair that is put to use and in the near future you’ll be able to incorporate designs and build stunning frames for your home.
Wall plugs are a great way to secure masonry fittings to a wall. They’re a great way to fix a stud or brick wall, but they won’t work for plasterboard or stud walls. But be careful when choosing a wall plug: If you’re not sure which type to use, a plastic plug is the best option. It’s easy to screw in and out, and provides a secure base for screws and anchors.
Synthetic Decking Materials – A Serious Alternative To Screws And Nails
Depending on the application, masonry fixings can be either a permanent or temporary solution. There are many types of these types of anchors, and they all have their own advantages and disadvantages. Typically, masonry anchors are more permanent and are best placed in areas where it’s possible to access them. A strong anchor is an important part of a masonry structure, so it’s important to ensure it can resist the stress and strain of a building’s foundation.
The first type of masonry fixings is wall plugs. These can be screwed into a wall. Then, insert a 6mm masonry bit into the hole and push the plug through the wall. It’s important to note that the depth of the plug must account for the thickness of the battery. Once the masonry plug has been pushed into the wall, it will hold in place the battens.
Toggle fasteners are also known as toggle bolts. The stud has a threaded stud that is paired with a spring-loaded toggle. The toggle is designed to expand to hold the bolt in place. In addition, sleeve fasteners consist of a threaded stud with a flared cone-shaped end. The nut and washer are attached to the stud and force the cone-shaped end into the expander sleeve.
Another Type of Masonry Fixings is a Masonry Screw
A toggle fastener consists of a threaded stud that is connected to a spring-loaded toggle. A masonry screw will not penetrate the masonry material directly, so it needs to be tapped into the wall. However, a masonry screw will still hold the frame securely in place even if it is subject to a lot of pressure.
A good quality masonry anchor is important in the construction of a wall. It will prevent cracks from forming and is essential to a sturdy building. A plastic anchor should fit snugly into the hole and can be driven in with a hammer. Beware of large screws that push the plastic against the wall and may break. If your masonry screw is too weak, you can cut the extra anchor lengthwise and drive it alongside the existing anchor.
The Advantages of Auto-Feed Roofing Panel Pins
Sheradised nails are a popular choice for building projects because they offer excellent resistance against rust and corrosion. These types of nails are often used in decking and fencing projects. Their square twist shank keeps holes watertight. Because of their unique shape, sheradised nails are excellent for outdoor use.
Sheradised nails are similar to galvanised nails in their general use and durability, as both involve zinc coating. This nails are suitable for all environments and weather conditions and are preferred for outdoor projects. Sheradised annular ring nails come in a range of finishes and sizes. These products are also known for being corrosion resistant, making them a great choice for outdoor applications. Listed below are some of the main uses for sheradised nails.
Sheradised nails are a popular choice for roofing projects. They are available in hardware store various sizes, allowing you to get the right size and finish for the job. These galvanised nails are ideal for outdoor use, as they have a zinc coating. They have a lifespan of 5 to 10 years, which makes them a great choice for most roofing projects. If you’re considering using nails for roofing, then you should consider sheradised ones.
Summary
For exterior roofing projects, bright nails are the best choice. These nails are made of zinc and are resistant to rust and corrosion. They are great for use on composite and metal roofs, but are not recommended for use on properties near the ocean, as salty air can cause rust.
Copper nails are also ideal for slates because they mimic the performance of steel nails without compromising their appearance. They are ideal for exterior projects that require a waterproof finish.